
Recent Posts
26 March 2026 (Set Subject Round 3 – Comedy)
Reply
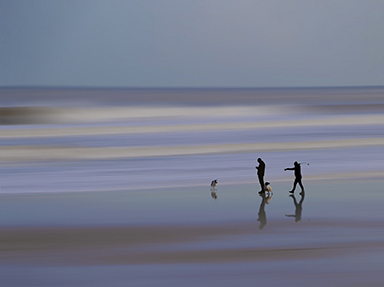
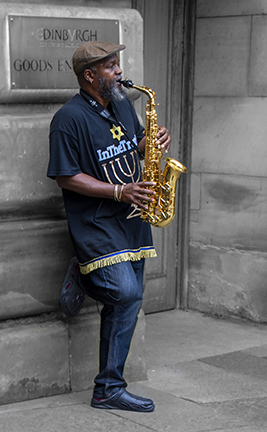
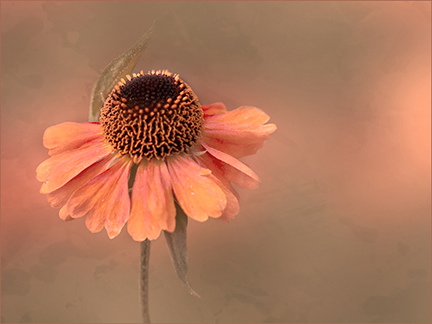
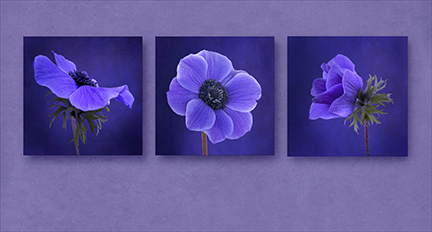
The last of our 3-part set subject tournament concluded this week, on the theme of “comedy”. We finished round 2 with Derek Muller 5 points ahead. Here we find out if any of the remaining contenders can score enough points to catch up. The competition was judged by Jim Innes, a top scorer in last year’s competition. There were 33 images entered by 11 members. Jim said that the “comedy” theme had been quite hard to judge because everyone had different idea what was funny. He judged each entry on the quality of the image, how funny it was, and how well the title helped the comedy. As usual, members had been very creative in their entries. There were images of comedic acts from the theatre or the Edinburgh festival, including George Todd’s photograph of a comedy act between 2 dogs in costume. There were also comedy wildlife images, pictures of people doing silly things, a comedy still life with googly eyes, and some pictures of fellow club members in silly costumes or jostling to get their camera in the right place. Malcolm Roberts’ photoshopped version of Musselburgh’s “Honest Toun” road sign raised a laugh. Jim commented on the composition, exposure and sharpness of each image and whether he found it funny. Some entries had a funny title but didn’t seem funny in themselves. Nicola Cawthorne’s “Brown Bag Lunch” became funnier after the competition had finished, when we zoomed in to discover that the “lunch” is actually a pigeon! The top scorers were (in reverse order):
- 4th place (49 points)
- Elaine Gilroy
- Carol Edmond
- 3rd place (50 points)
- Malcolm Roberts
- Mike Clark
- Derek Muller
- 2nd place (54 points)
- John Fowler
- George Todd
- 1st place (56 points)
- Steven Beard
- Jennifer Davidson
The top images were:
- The Fruit of All Evil (Steven Beard) – 20 points
- Help! I’ve Got An Itch! (Jennifer Davidson) – 20 points
- What Time Is It? My Watch has Stopped (George Todd) – 19 points
- I Just Need One More Shot (Jennifer Davidson) – 19 points
- Peeping Penny (John Fowler) – 18 points
- Hurry Up (John Fowler) – 18 points
- Ready Steady Woof (John Fowler) – 18 points
- Funny Faces (Steven Beard) – 18 points
- How Are You Doing That? (Steven Beard) – 18 points
- Joe Relaxing At Home Circa 1946 (George Todd) – 18 points
- Sharing A Moment (Mike Clark) – 18 points
- This Isn’t Mean to be Funny (Elaine Gilroy) – 18 points
- Call Yourself Photographers (Derek Muller) – 18 points
Well done to Steven Beard and Jennifer Davidson, who won this round with a 20 point image each. They both win the right to judge next year’s competition. Jennifer judged this competition 2 years ago, so it looks like Steven will be judging. After consulting the final spreadsheet I can reveal that the final result from all three competitions is:
- 1st place
- Derek Muller (53 + 56 = 109)
- 2nd place
- George Todd (54 + 54 = 108)
- Jennifer Davidson (52 + 56 = 108)
- 3rd place
- Steven Beard (51 + 56 = 107)
- 4th place
- John Fowler (51 + 54 = 105)
- 5th place
- Mike Clark (54 + 50 = 104)
- Carol Edmond (51 + 53 = 104)
- 6th place
- Malcolm Roberts (51 + 50 = 101)
- Jim Innes (49 + 52 = 101)
George and Jennifer almost made it, but they couldn’t quite reach Derek Muller’s unassailable 109 points. Congratulations to Derek, who wins the trophy. Jennifer and Steven came from behind, which shows how everything can change after the 3rd round.
- This is the last competition of the season, and George needs to engrave the trophies for the AGM. If you won a trophy last year please return it to George as soon as possible.
- Next week we will be hosting Haddington Camera Club and Penicuik Photography Club for the 3-way competition. If you have any spare home baking or other treats to share please bring them along.
- 05 March 2026 (Swedish Interclub Meeting) Leave a reply
- 26 February 2026 (Set Subject Round 2 – Emotion) Leave a reply
- 19 February 2026 (Fiona Brims: I am not a wildlife photographer … But …) Leave a reply
- 12 February 2026 (Audio Visual Evening) Leave a reply
- 05 February 2026 (Quiz Night) Leave a reply
- 29 January 2026 (Set Subject Round 1 – Weather) Leave a reply
- 27 January 2026 (Match An Image Competition) Leave a reply
- 22 January 2026 (Photoshoot Preparation) Leave a reply
- 08 January 2026 (Human Portrait Print Competition) Leave a reply
