
This week we discussed printing and mounting techniques. Steven showed how he prepares his images for printing, using the same high contrast black and white image he showed during last week’s “High Contrast Workshop“. The steps involved:
- Flattening the image into a single layer.
- Resizing the image to match the printing size. Steven recommended making the image slightly smaller than the size of the chosen printer paper to allow a margin around the edge.
- Sharpening the image (for example by using the “unsharp mask” filter in Photoshop). In general, printed images need to be sharpened more than images displayed on the screen. The amount of sharpening depends on the kind of image: for example more sharpening for high contrast black and white images but less sharpening for flowers or soft baby portraits.
- Lightening the image. Images are displayed on a screen by shining a bright light through them, but images printed on paper are viewed by reflected light. That difference tends to make the same image look darker when printed. You can compensate for this difference, and make your prints brighter and punchier, by lightening your image before printing it. When making an adjustment, the secret is to adjust the slider so the image looks a little brighter than ideal on the screen, but not overwhelmingly bright. If you are using your own printer you could print some small test images at different settings.
- Finally, create an empty layer and use the “Stroke” tool to add a 2 pixel wide black border around the edge of the image. This gives a print a clean boundary at the edge, which is useful if you are mounting the print directly onto a mountboard but not so useful for window mounts.
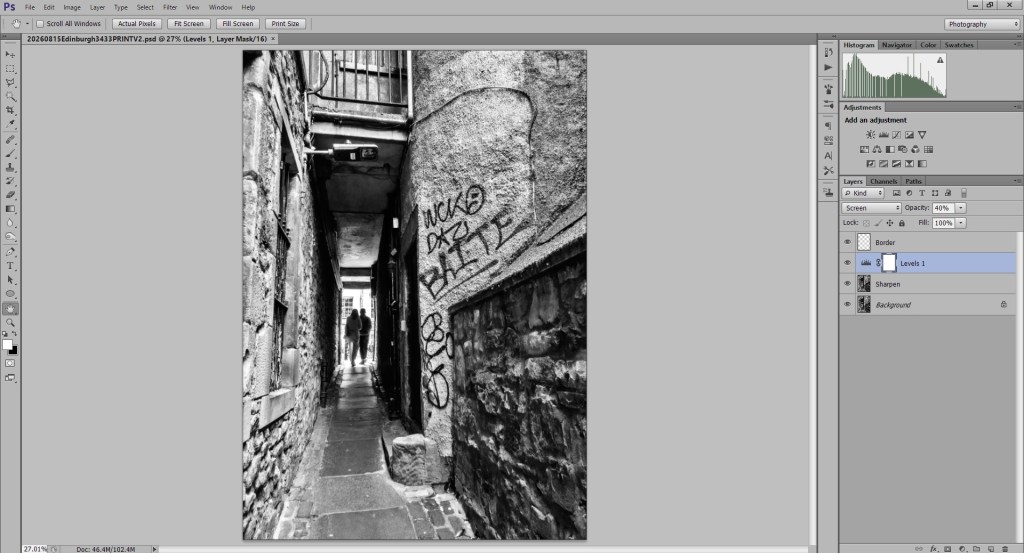
The image above shows an example of the final image. If you are printing at home you would normally select “File/Print” to bring up the print dialogue box. You can check that the print will fit onto the paper by setting the “Scale” to 100% and making sure there are no warnings. But if you would like to save an image to be printed on the club printer you can use the technique suggested by Derek earlier during the “Editing Workshop“:
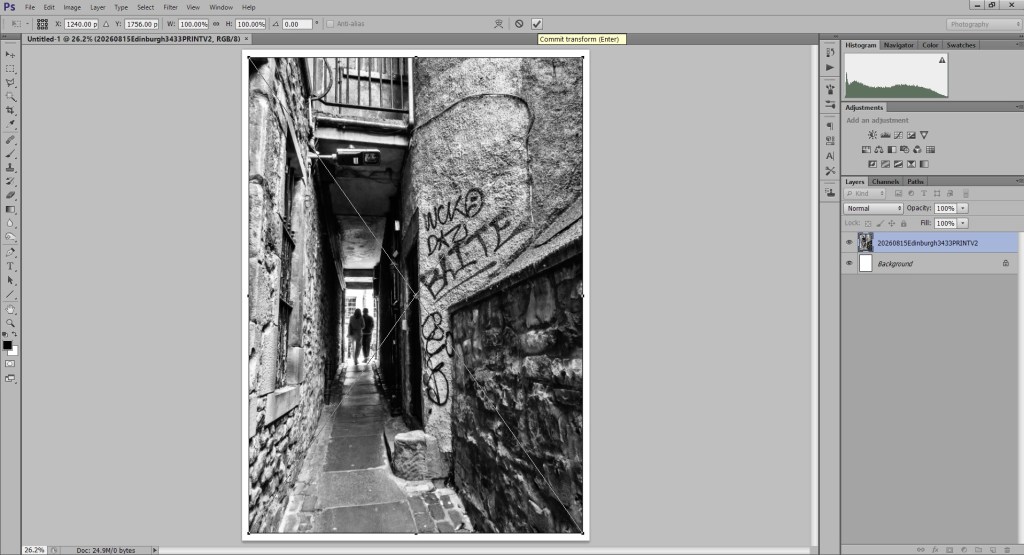
- Create a canvas in Photoshop the exact same size as the printer paper.
- Place your image onto that canvas. Steven’s favourite method is to use “File/Place”, which is easier than cutting and pasting.
You can then see what your image would look like when printed onto that paper, and if you save this image it will be an exact representative of the printer paper:
There is some guidance on resizing, printing and mounting on the club web site:
Steven ended the session with a mounting demonstration, showing how this same print could be attached to mountboard and trimmed to the correct size. More details will be posted on the club members’ Facebook page. Mike will be back next week, and we will have an extra session at the Fisherrow Centre specifically for printing and mounting with the club equipment.
Next week, Derek will be back with some special guests for “Interview with a Photographer”…

